Introduction

A jewelry tech pack is the production reference that turns a mood board, sketch, CAD drawing, or sample into a product a factory can quote, prototype, inspect, and repeat. It does not need to be a complicated engineering document. It does need to remove assumptions that could change the material, fit, cost, finish, packaging, or delivery route.
For B2B buyers, the goal is simple: make sure every supplier is reviewing the same product. A well-prepared brief saves more time than repeated requests for “best price” because it lets the factory identify capability, process risks, and missing decisions early.
The short answer: what must a jewelry tech pack include?
Include a product identifier, visual reference, dimensions, material and finish calls, components, branding, packaging, target market, estimated quantity, and approval criteria. If a point is not decided, mark it as open rather than allowing it to be silently assumed.
Start with a commercial brief
Before the product drawing, state the commercial role of the item. Is it daily-wear fashion jewelry, a giftable pendant, a premium vermeil piece, a retail set, or a wholesale replenishment SKU? Where will it be sold? What is the target retail position and approximate quantity? These answers guide the supplier’s advice on product application, material choice, protective packaging, and inspection points.
The brief should also state customer requirements. Examples include a required logo position, a prohibited base material, an EU-focused compliance question, a chain-length range, a specific display-card format, or a need for multiple sizes. Clear constraints are more useful than broad style words such as “luxury” or “high quality.”
The core fields to add
| Section | Include | Reason |
|---|---|---|
| Identification | SKU, revision, date, buyer contact | controls the current version |
| Visuals | front, side, back, close-up, scale reference | shows form and construction |
| Materials | base metal, stone, pearl, chain, findings | avoids color-only descriptions |
| Finish | gold tone, texture, polish, protective layer if specified | supports sample approval |
| Dimensions | length, width, thickness, critical tolerances | enables measurement |
| Branding | logo file, location, size, orientation | prevents incorrect marking |
| Packaging | pouch, card, box, labels, insert | confirms fit and presentation |
| Quality | critical defects and approvals | guides inspection |
Do not rely on a product photo
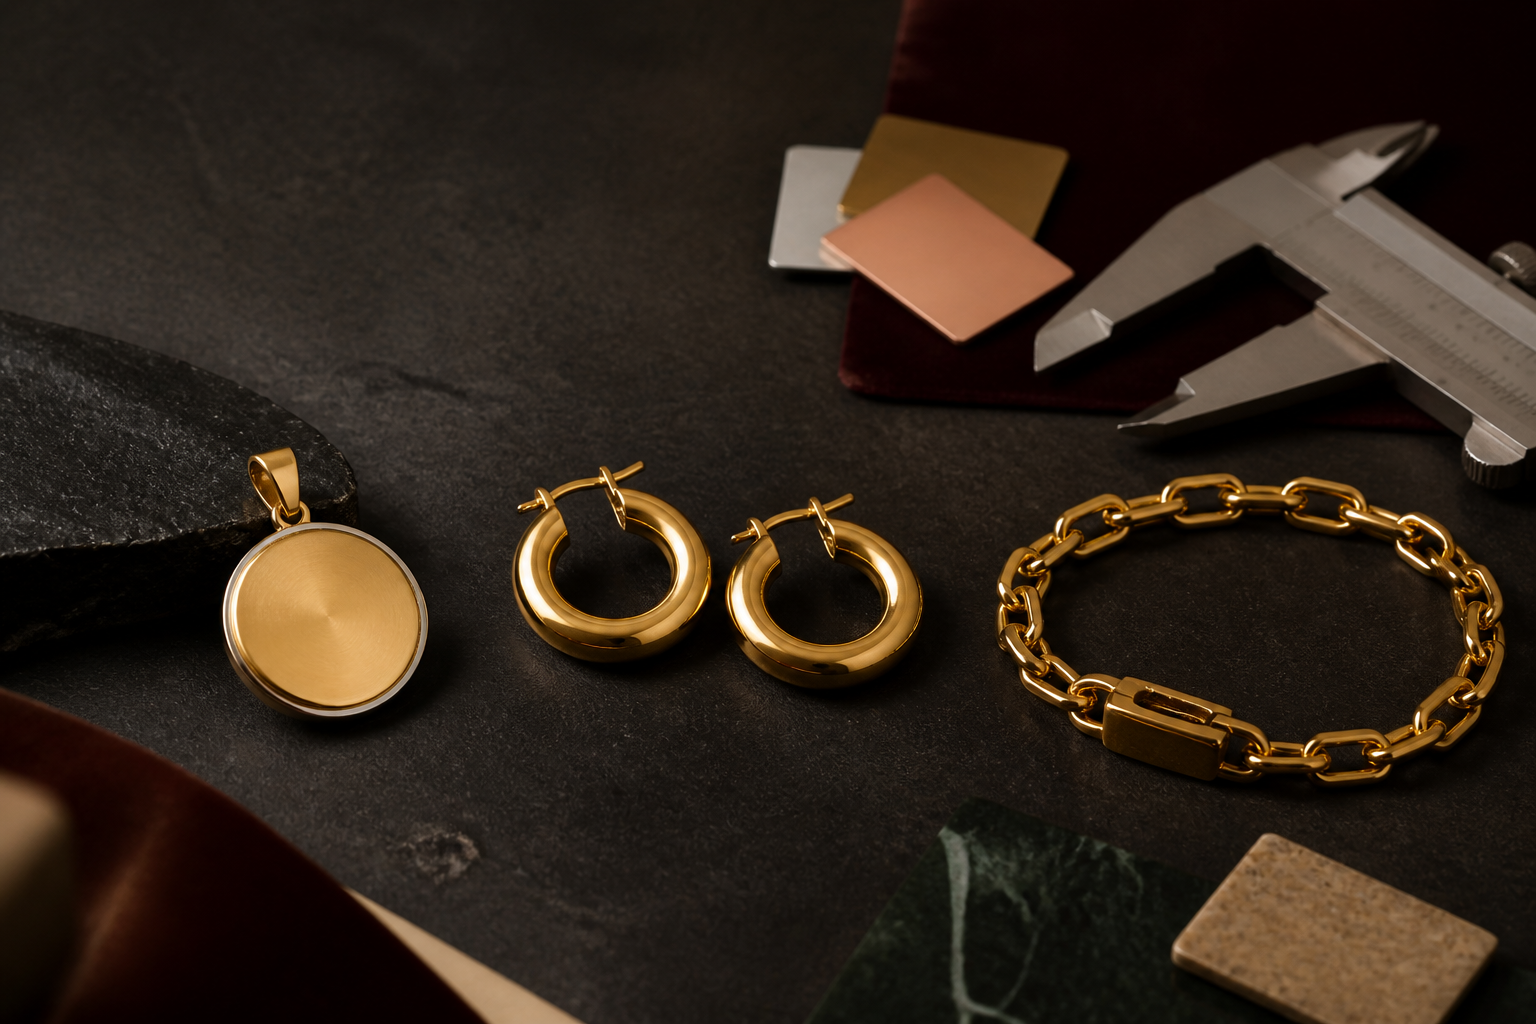
Photos are useful references, but they hide information. Two apparently identical hoops can have different post systems, gauge, weight, hinge tolerance, plating coverage, and comfort. A necklace photo may not disclose base metal, chain length, clasp, extender, or pendant thickness. Add callouts directly onto the image or drawing and describe every component in words.
Where a measurement matters, show where it is taken. For example, a bracelet’s overall length, inner diameter, and clasp-to-clasp dimension are not interchangeable. For a stone, note the shape, nominal size, setting type, and acceptable natural variation. A factory can then plan the appropriate measurement method during factory testing.
Make sampling a controlled decision gate
The sample should test the exact configuration that will be quoted for bulk work. Review not only beauty shots, but also fit, balance, clasp operation, sharp edges, stone security, logo legibility, and packaging fit. Photograph the approved reference and assign a revision number. If changes follow, issue a new revision rather than making a chain of informal instructions.
Installation preparation matters for the packed product too. Confirm how the jewelry is held in the display card or box, how necklaces are secured against tangling, and whether a stone, post, or pendant faces pressure during transit. Product and packaging should be approved together.
Include a realistic inspection plan
The tech pack should identify what is critical to the product: visible finish, size, clasp function, stone retention, post alignment, logo placement, color matching, packaging, and quantity. During shipment inspection, compare finished products to the retained approved sample and documented criteria. If acceptance sampling is used, agree the procedure before bulk production; ISO 2859-1 is a recognized reference for lot-by-lot sampling plans, but it does not replace product-specific criteria.
Avoid vague instructions such as “no defects.” Instead, define critical issues that require rejection or rework and characteristics that may vary within agreed limits. Natural stone and pearl variation is a common example: acceptable variation should be described with photos and written notes.
FAQ
Do I need CAD before contacting a manufacturer?
No. A clear drawing or marked-up reference can support initial feasibility and pricing. CAD may be needed later for a new, complex, or tooling-dependent design.
Who should own the final tech pack?
The buyer should retain the approved commercial specification and revision history. The factory can contribute manufacturing detail, but every material or process change should be reviewed by the buyer.
What changes require a new sample?
Any change that affects appearance, construction, fit, material, finish, components, branding, packaging, or compliance scope should be assessed and, where necessary, re-approved through a revised sample.
Conclusion
A tech pack is not bureaucracy; it is the shortest route from concept to a repeatable product. Define the commercial role, specify the build, approve a physical reference, and make inspection measurable. The result is a clearer quote, a more useful sample, and fewer surprises at shipment.
CTA
[Send Your Requirements](mailto:info@owgow.com) for a tech-pack review before sampling. You can also use our MOQ planning guide to structure the first order.
ARTICLE TAGS
RELATED RESOURCES
Keep building the brief
Use these buyer resources to connect this decision with the next specification, approval, or sourcing step.
- Craftsmanship hub →
- Jewelry Size Specification Guide: Rings, Chains, Bracelets, and Earrings →
- Custom Jewelry Charm and Pendant Development: From Idea to Production Brief →
External buyer reference: FTC Jewelry Guides